Description
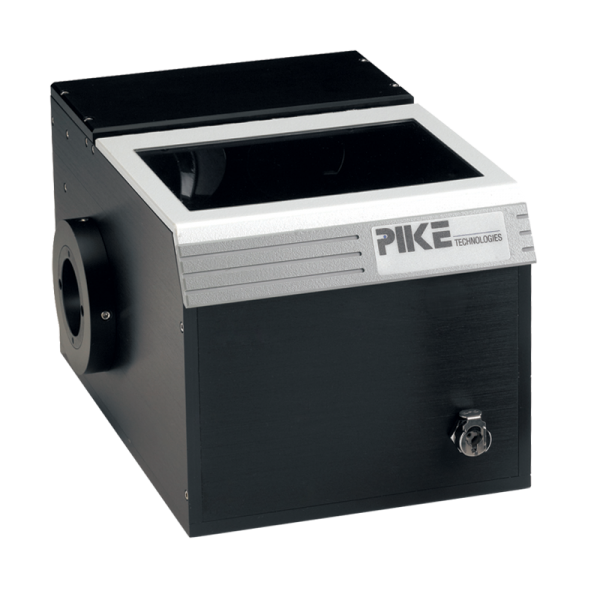
Pike Technologies Absolute Reflectance Accessory
Sample reflectance is usually measured in comparison to a high reflectance diffuse gold or a high reflectance gold mirror. The sample reflectance is measured and calculated against these standards that have 94-99% reflectance in the infrared region.
Absolute reflectance measurement has to be even more accurate than measured by other accessories. Unfortunately, no standards exist today that have guaranteed 100% reflectance, against which unknown samples could be compared.
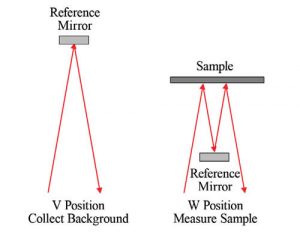
Beam Path for V and W Positions for PIKE Absolute Reflectance Accessory 12° Angle of Incidence
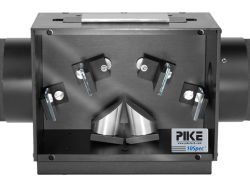
PIKE Technologies have developed a Absolute Reflectance accessory which does not require reflectance standards due to its unique V / W optical arrangement. The beam in the V position reflects from the reference mirror. In the W position it is reflecting from the sample twice and the same reference mirror at 12°. The absolute reflectance of a sample is then the square root of the measured value at a given wavenumber or wavelength.
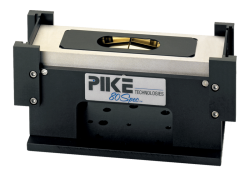
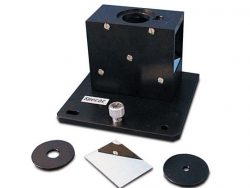
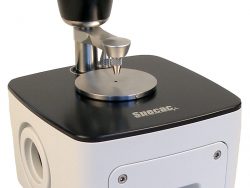
The two configurations are easily selected by rotating the sample holder 180 degrees with its pinned-in-place mount and the sample is held by a quick-release mount.

